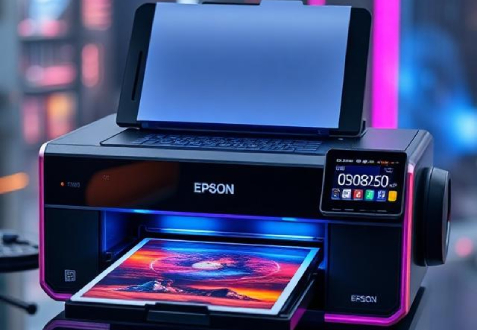
Epson L3250 Printer WIFI Setup
Manual Guideline
Enabling Wi-Fi Direct Mode
You can set up your product to communicate directly with your computer or another device without requiring a wireless router or access point. In Wi-Fi Direct Mode, the product itself acts as a network access point for up to 8 devices.
1 Epson product
2 Computer with a wireless interface
3 Other wireless device
Enabling Wi-Fi Direct Mode
Parent topic: Wi-Fi Networking
You can enable Wi-Fi Direct mode to allow direct communication between your product and computer or other devices without a wireless router or access point. Make sure paper is loaded before you begin.
- Hold down the Wi-Fi button and press the
 network status button until the
  Wi-Fi light and
  Wi-Fi Direct light flash alternately. Then release both buttons.
Note: When you are using an Android device and connect to the printer using Wi-Fi Direct, the Wi-Fi light and Wi-Fi Direct light flash simultaneously on the printer.
Wi-Fi Direct light flash alternately. Then release both buttons.
Note: When you are using an Android device and connect to the printer using Wi-Fi Direct, the Wi-Fi light and Wi-Fi Direct light flash simultaneously on the printer.After both lights stop flashing, the
Wi-Fi Direct light remains on. - Hold down the network status button for about seven seconds to print a network status sheet.
- Use your computer or wireless device to select the Wi-Fi network name (SSID) and password listed in the Wi-Fi Direct section of the network status sheet. You should now be able to print to your product directly from your computer or device. If you cannot print successfully, repeat the process above and make sure you enter the password exactly as written on the network status sheet.
Wi-Fi Protected Setup (WPS)
If your network uses a WPS-enabled wireless router or access point, you can quickly connect your product to the network using Wi-Fi Protected Setup (WPS).
Note: To check if your router is WPS-enabled, look for a button labeled WPS on your router or access point. If there is no hardware button, there may be a virtual WPS button in the device’s software. Check your network product documentation for details.
Using WPS to Connect to a Network
If you have a WPS-enabled router or access point, you can use Wi-Fi Protected Setup (WPS) to connect your device to the network.
- Press the WPS button on your router or access point.
- Hold down the Wi-Fi button on your product for about five seconds until the Wi-Fi light and Wi-Fi Direct light flash alternately. The Wi-Fi light turns green to indicate a successful connection.
Note: Be sure to press and hold the Wi-Fi button on your product within 2 minutes of pressing the WPS button on your router or access point.